Publishing
Publishing to Apple App Store
You can publish a NativeScript app in the App Store the same way you would release a purely native iOS app.
- Verify that the iOS native project inside your app contains your latest changes and resources by running the following command.cli
ns prepare ios --release - Open the iOS native project in Xcode. Your native project is located at:
{name}/platforms/ios/{name}.xcworkspace(or in{name}/platforms/ios/{name}.xcodeprojif the project does not contain any native iOS libraries). - Configure the project for distribution.
- Upload the app to App Store Connect.
- Submit it to the App Store.
Creating iOS NativeScript app
Bundle ID
The Bundle ID is a unique identifier, provided by you for your app. It uses reverse domain name notation. For example, the NativeScript CLI will use org.nativescript.<AppName> as default. During ns create you can provide the Bundle ID using the --appid <id> option.
In iOS apps, the Bundle ID is stored in the CFBundleIdentifier in the Info.plist, but the NativeScript CLI will explicitly set this to the value of the id key stored in the nativescript.config.ts file in the root of your application.
Note
To edit the Bundle ID, edit the nativescript.config.ts of your app and set the id key.
The Bundle ID is used to precisely identify your app at various situations and plays an important role, when it is built and launched by the CLI, as well as when Provisioning Profiles and certificates are created in the Apple Member Center.
For more information consider the 'About Bundle IDs' section in the following article.
App name
This is the display name for your app. It is purely cosmetic but highly important. For example, it will appear under the app icon. The value is stored in the app/App_Resources/iOS/Info.plist file as the CFBundleDisplayName key.
App icons
The NativeScript framework will use icons from app/App_Resources/iOS/. All files from that folder are added as resources in the generated Xcode project in platforms/ios.
App Store submissions will be rejected if certain icon files are not present. To ensure you have the required icons, you can consider the following Apple article: 'App Icons on iPad and iPhone'.
If you want to extend the default icon set, and you don't want to use the default naming, or you need finer control, you can use the app/App_Resources/iOS/Info.plist. List the icons using CFBundleIconFiles or CFBundleIcon.
For example, listing icons using CFBundleIconFiles:
Example 1: How to customise Info.plist.__>
<?xml version="1.0" encoding="UTF-8" ?>
<!DOCTYPE plist PUBLIC "-//Apple//DTD PLIST 1.0//EN"
  "http://www.apple.com/DTDs/PropertyList-1.0.dtd">
<plist version="1.0">
  <dict>
    <!-- The full content of the Info.plist still should be here. -->
    <key>CFBundleIconFiles</key>
    <array>
      <string>[email protected]</string>
      <string>Icon.png</string>
      <string>[email protected]</string>
      <string>[email protected]</string>
      <string>Icon-Small.png</string>
      <string>[email protected]</string>
      <!-- etc -->
    </array>
  </dict>
</plist>
Launch files
Launch screens are an essential part of your iOS app. This is the first thing your users see when they start your app.
The Springboard will play a subtle animation transitioning from the home screen to your app. In order to provide a pleasing experience, it's best to avoid a default that's entirely black or white.
The launch files are not a splash screen; instead, they are a way for the OS to quickly grab a preview image of your app and use it during the first ~300ms while your app is booting.
For design guidelines you can consider the following article provided by Apple.
Note
If you think that following these guidelines will result in a plain, boring launch image, you’re right. Remember, the launch image doesn’t provide you with an opportunity for artistic expression. It’s solely intended to enhance the user’s perception of your app as quick to launch and immediately ready for use.
App Store submissions will be rejected if certain launch files are not present. Make sure that when new iOS versions and devices are released that you update your launch files and accommodate the upcoming form factors.
If a customer runs your app on a device with a high resolution screen and your app is missing the launch screen file for that device, then iOS will render your app using a smaller resolution, degrading its quality:
- Your app may be upscaled, and blurred
- Your app may have black areas
Earlier iOS versions had to support a small range of form factors. Providing a different launch image per screen size was trivial. With the new devices released by Apple, the number of images that had to be provided increased. That's where Apple introduced the launch screen storyboard. The storyboard allows basic primitives such as images to be presented on the screen, and you can have dynamic layout using layout constraints. This makes it possible to design a single launch screen that fits well for all form factors.
The NativeScript framework default project has a Launch Screen Storyboard and Launch Images. In iOS8 and later, your app may use storyboards; your app can use launch images for devices that run earlier versions of iOS.
Launch screen images
The images are placed, similar to the icons already mentioned, in app/App_Resources/iOS. The default project template ships several Default-*.PNG files there; you may consider changing them.
In iOS8 and later versions, your app will display its storyboard. If you want to use images on all devices, you can consider disabling the Launch Screen Storyboard. Instructions for how to do this are explained later in the next section.
Similar to the icons, you can use the UILaunchImageFile and UILaunchImages key in the app/App_Resources/iOS.
Launch screen Storyboard
The NativeScript framework will provide a Launch Screen Storyboard in platforms/ios/<YourAppName>/en.lproj/LaunchScreen.xib, but does not yet provide a means to store it at app/App_Resources/iOS. If you want to edit it you can use the .xcodeproj generated in platforms/ios. You will have to add it in source control. CLI rebuilds may overwrite it, so you will have to watch out for automatic changes in it when you commit.
To disable the default Launch Screen Storyboard, remove the UILaunchStoryboardName from the app/App_Resources/iOS/Info.plist:
<key>UILaunchStoryboardName</key>
<string>LaunchScreen</string>
This will force all supported launch screens to use the launch image.
Creating App Icons and Launch Screens for iOS
Publishing your iOS app is an essential step in the development process and in order for your iOS application to be published successfully in the App Store, there are some requirements that need to be fulfilled. As described in iOS Human Interface Guidelines setting the following is mandatory:
- App name
- App icon
- Launch image or files
In NativeScript, your application comes with predefined template settings and images for these steps. In this article, we are going to introduce the workflow to create your own launch screens.
Warning
Occasionally, the iOS operating system caches your application’s icons and launch screens. If you’re updating icons or launch screens and not seeing your changes, delete the application from your device or emulator and redeploy. If on a real device: remove platforms folder from your project, delete app, restart device, redeploy.
Setting launch screen and App Icons
Setting up launch screens depends on the version of iOS you are targeting. In iOS 7 and lower, the approach for creating the launch screen is to use static image resources. The drawback of this method is that the app developer will have to provide many different images, each with different resolution for each iOS device. In iOS 8 and above, the approach is to create a LaunchScreen.storyboard, which is much more powerful in terms of customization and is easier to maintain.
The default Hello-World project in NativeScript is provided with default settings that supports both approaches. When you build your app for devices with iOS lower then version 8, NativeScript will use the static images and when you use NativeScript to build your app for devices with iOS 8 and above, it will use the provided LaunchScreen.storyboard.
How to set your launch screen
The default template in NativeScript (created with ns create myApp) provides you with predefined AppIcons, launch images and a LaunchScreen.storyboard all with the NativeScript logo. To modify that template and create your own launch screen using your own assets and design, you will need the following:
app/App_Resources/iOS/Assets.xcassets: The resource that holds your image asset catalogs (for AppIcons, LaunchImages and LaunchScreen).
app/App_Resources/iOS/LaunchScreen.storyboard: Your default storyboard used for your launch screen (used in iOS versions 8+).
app/App_Resources/iOS/build.xcconfig: The resource that holds the references to the assets catalogs which will be used (optional: modify only if you change the name convention or introduce a new image asset catalog).
Xcode 7.1 or newer version (optional: needed only if you prefer WYSIWYG workflow for changing your images).
The workflow for creating your own launch screen can be handled from Xcode or manually in the NativeScript environment. In this article we are going to cover both the manual and the Xcode WYSIWYG approach.
In your app/App_Resources/iOS/Assets.xcassets you will find the following sub-folders:
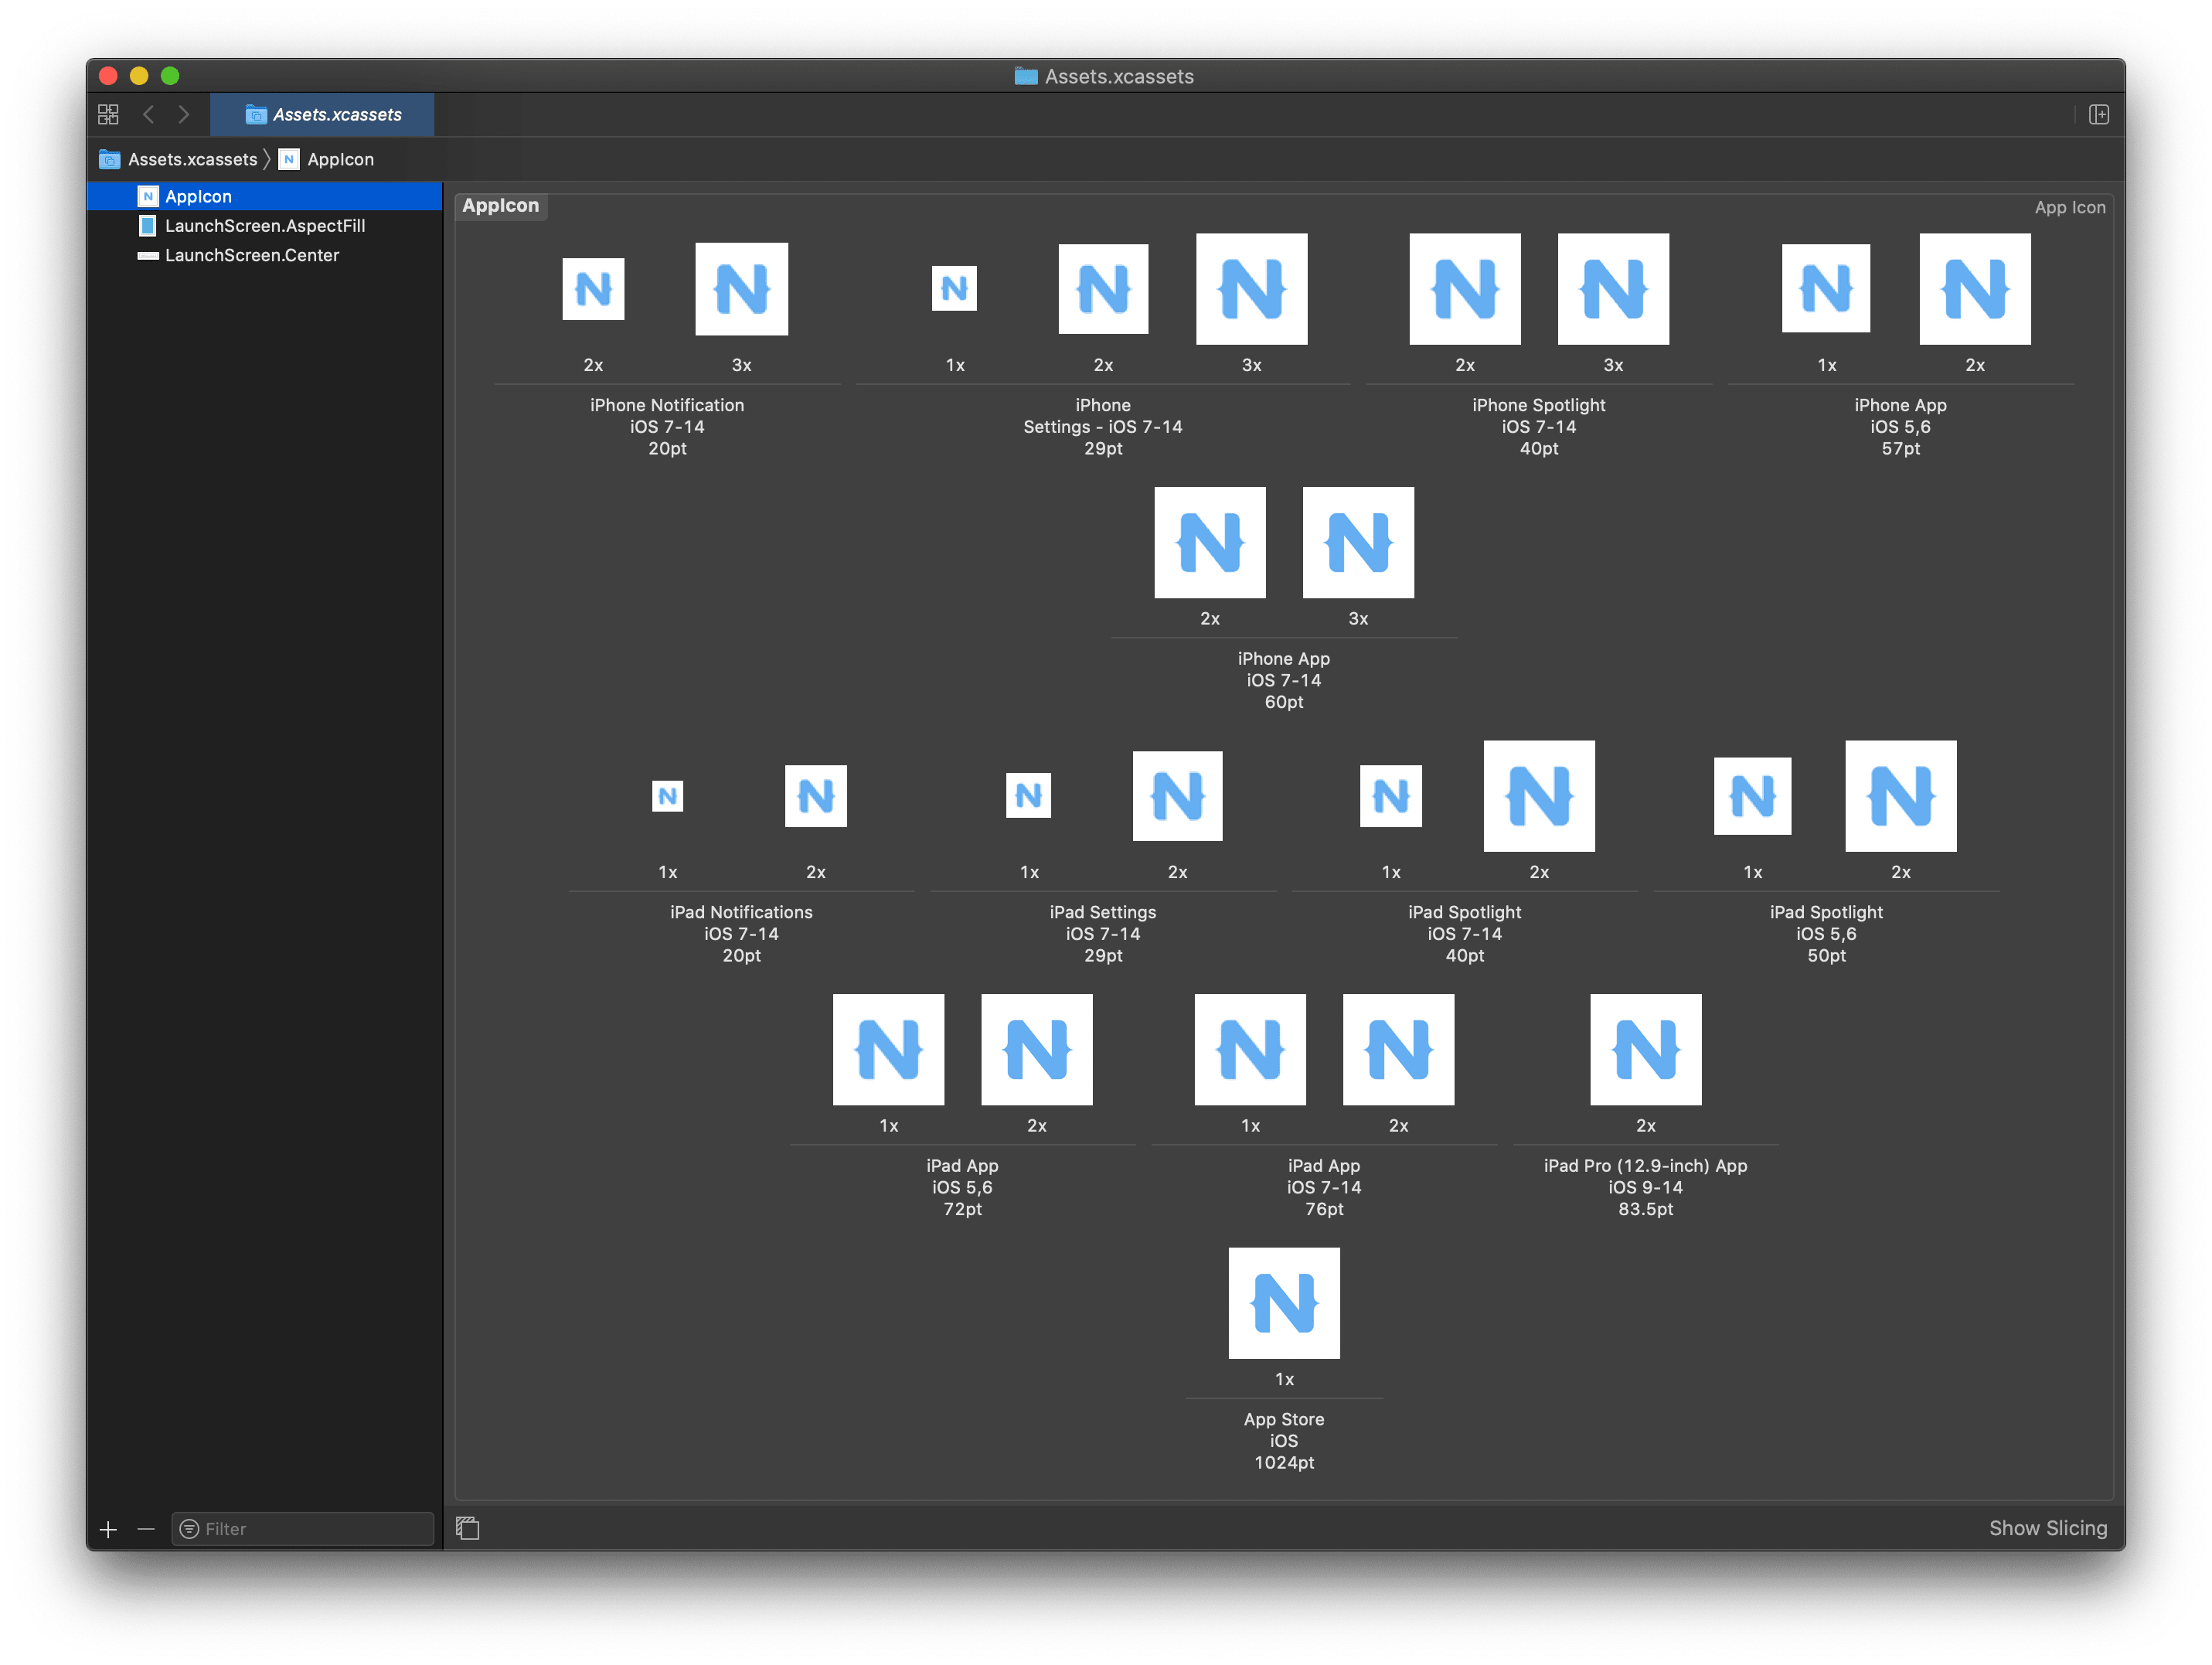
AppIcon.appiconset: The resource that holds the images for your AppIcons (all iOS versions).
LaunchScreen.AspectFill.imageset: The resource that holds the background image for your LaunchScreen.storyboard.
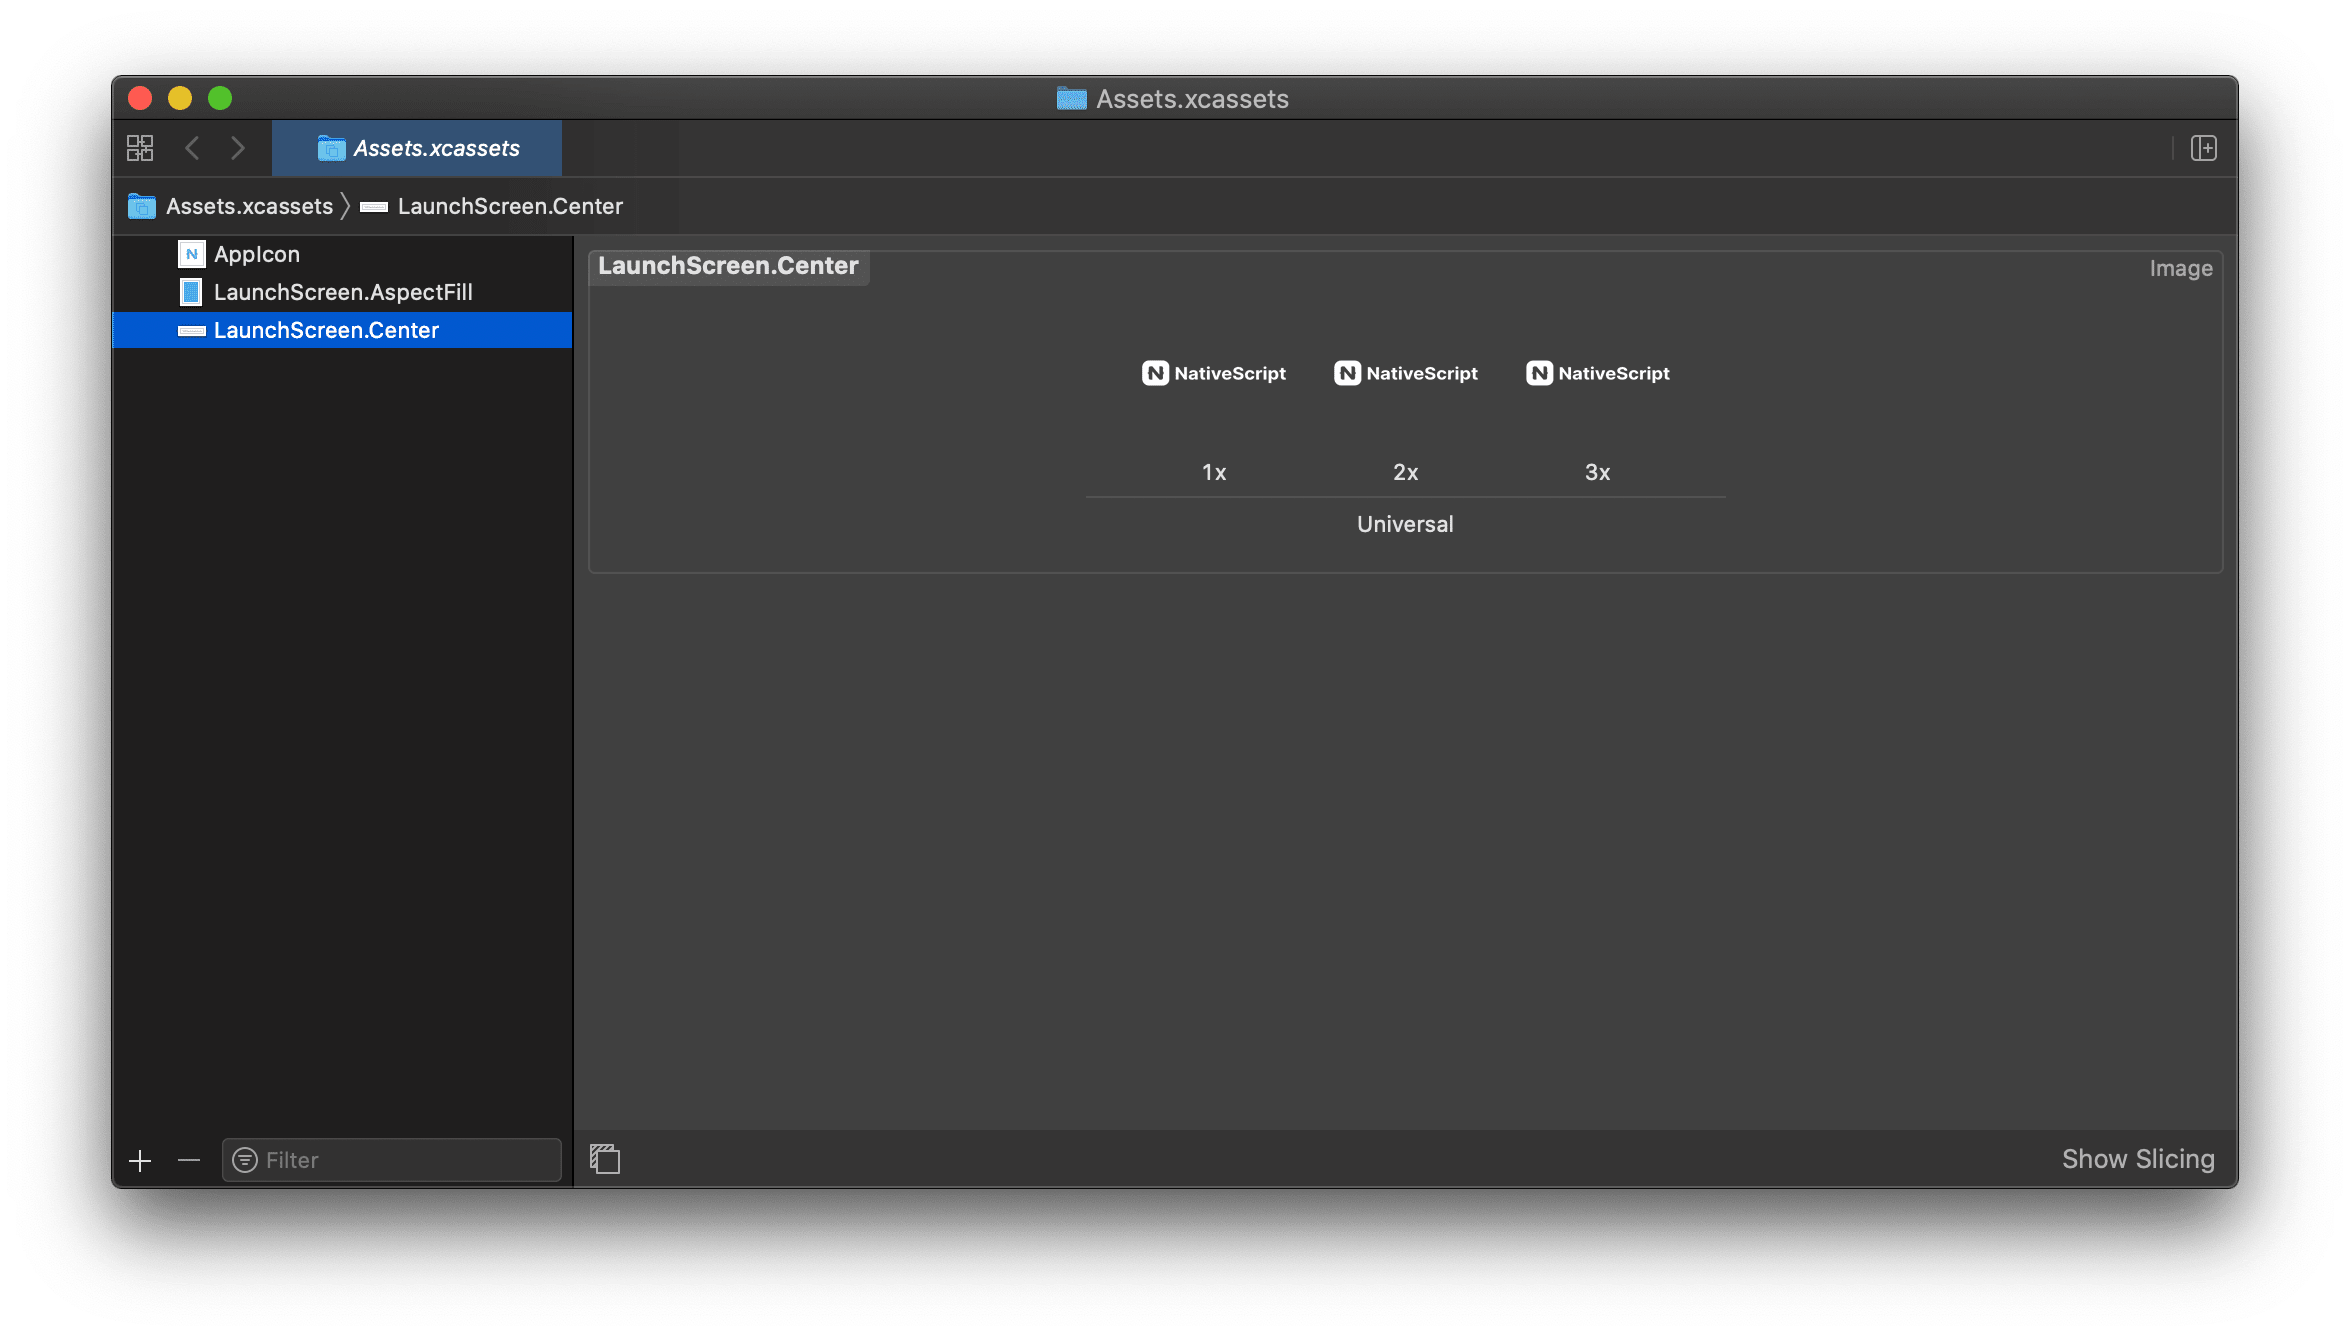
LaunchScreen.Center.imageset: The resource that holds the centered image for your LaunchScreen.storyboard.
Customizing App Icons
- Changing AppIcons: manual approach
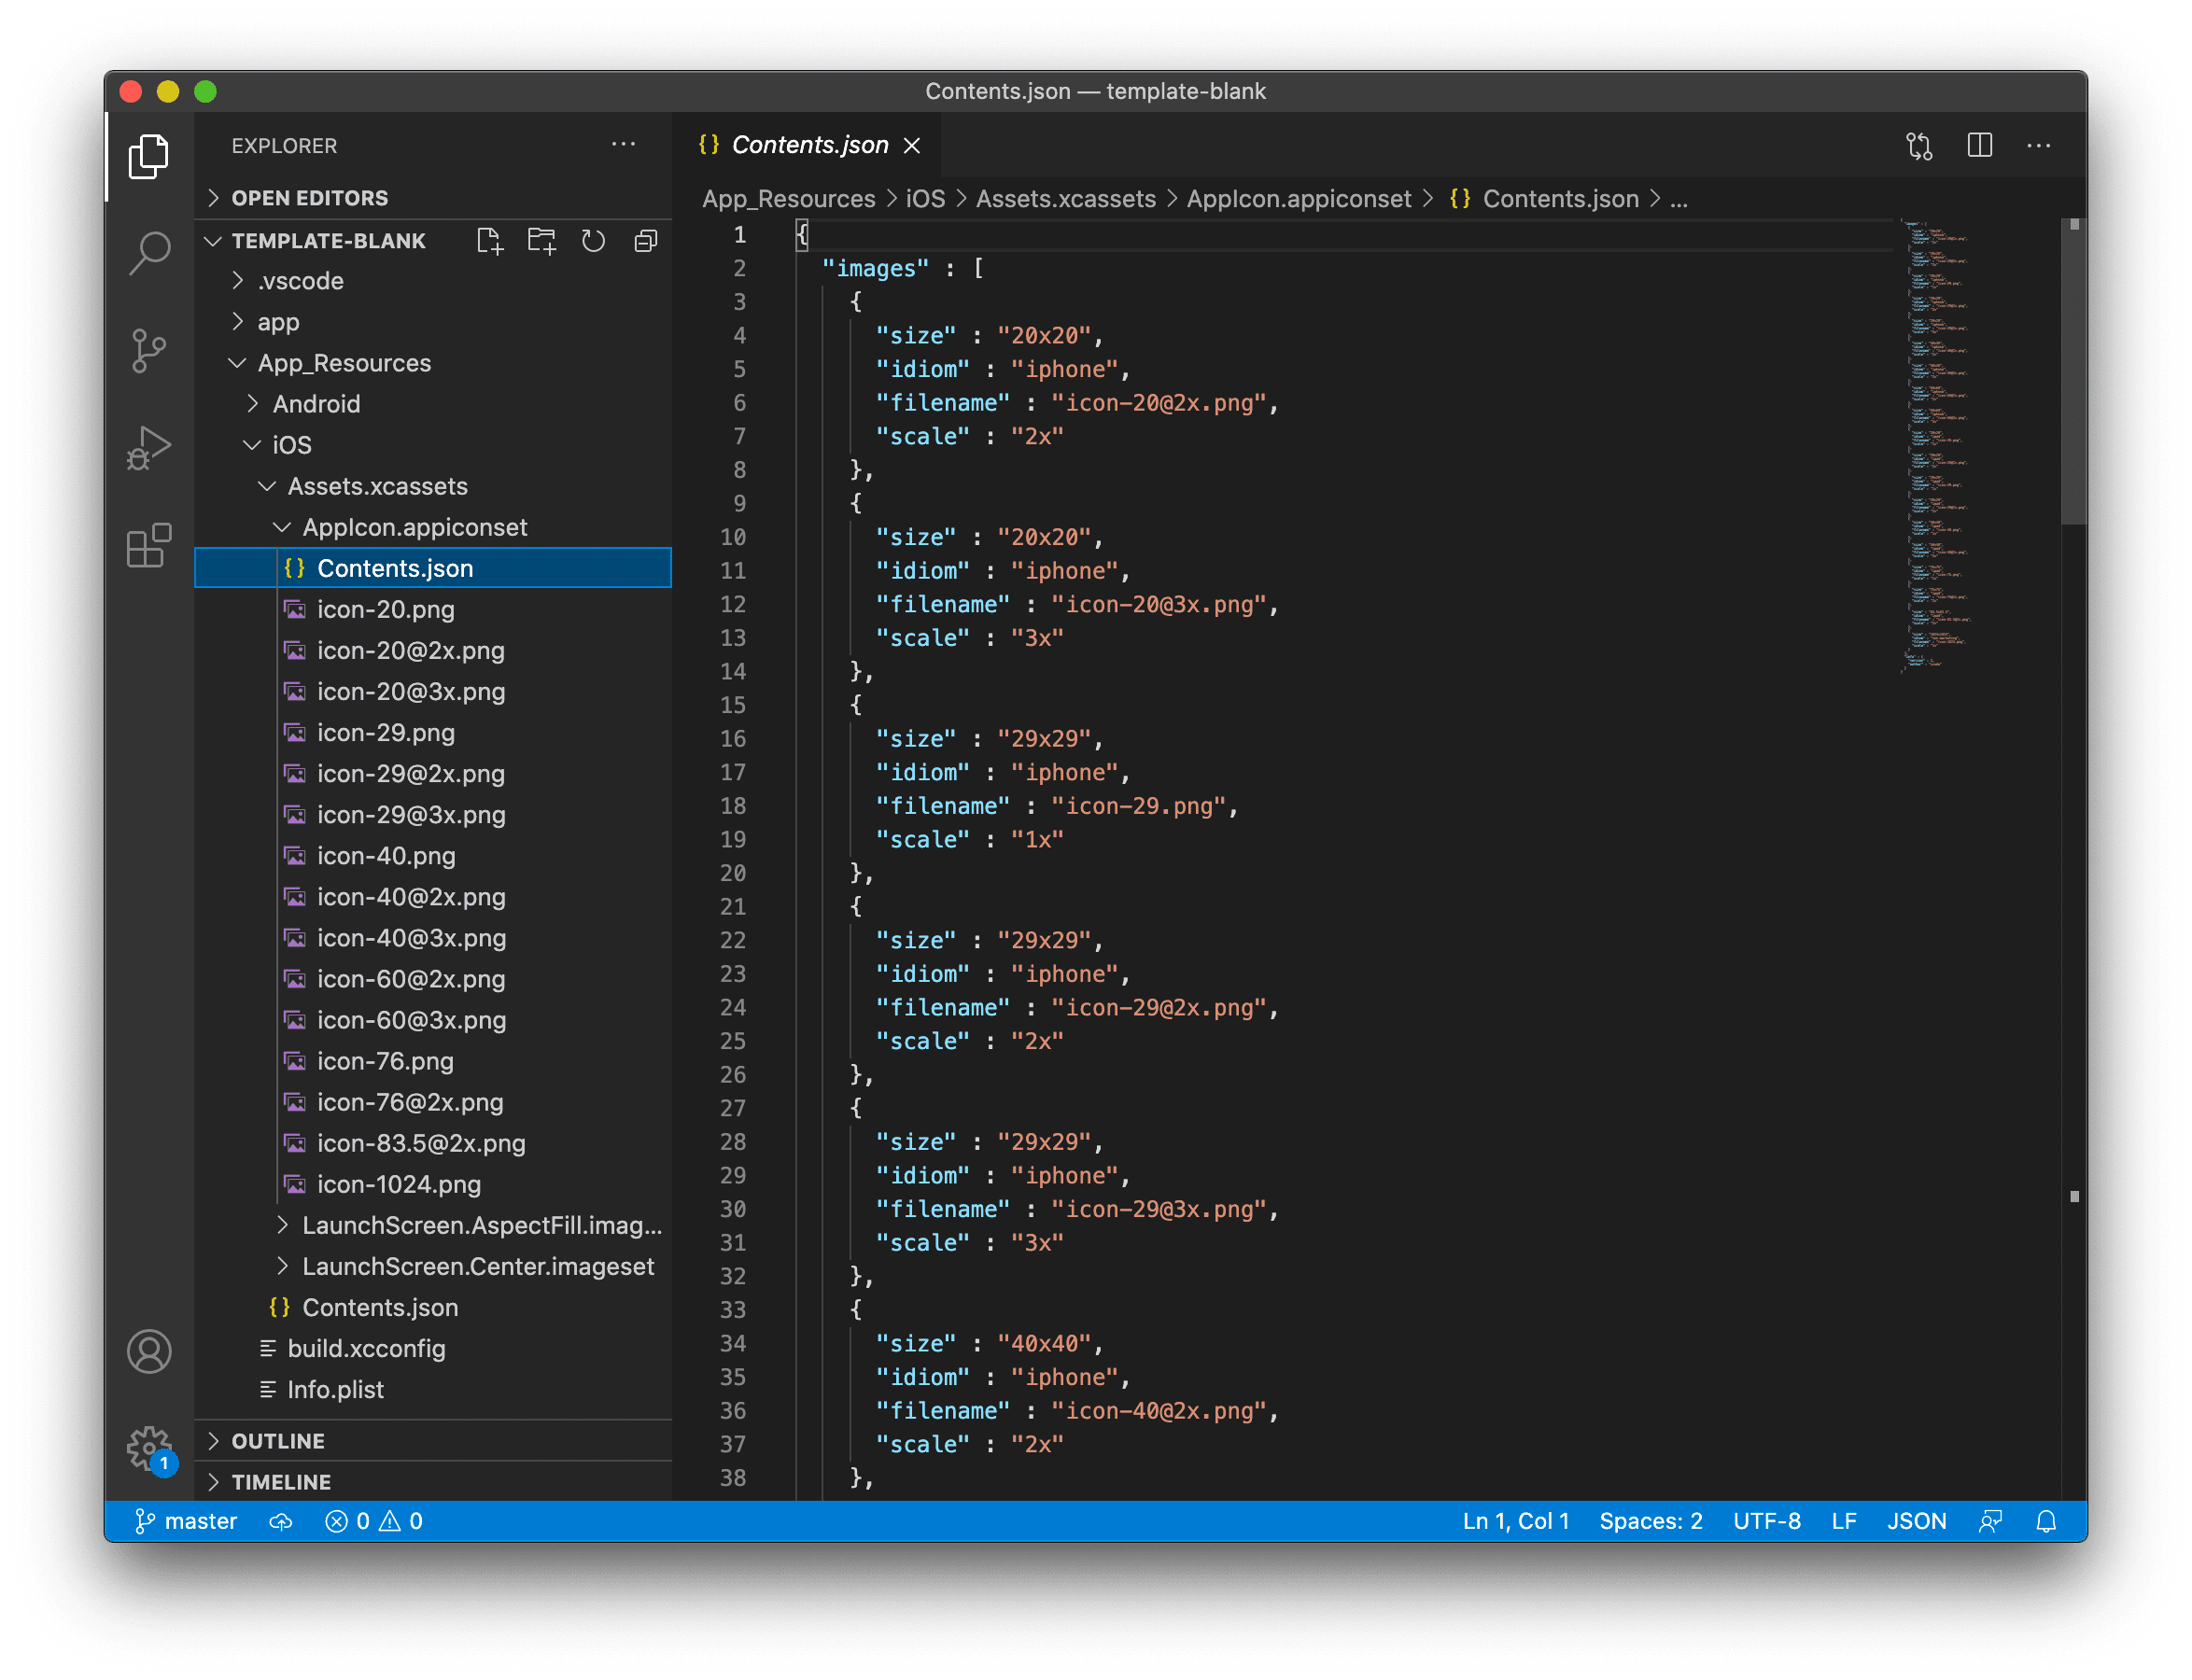
Open AppIcon.appiconset and change the default icons images with your own using the proper resolution for each image (e.g., icon-29.png should be 29px x 29px; icon-29@2x should be 58px x 58px; icon-29@3x should be 87px x 87px). If your images have different file names then open Contents.json and change the key filename for each image.
- Changing AppIcons: Xcode WYSIWYG approach
Drag and drop your Assets.xcassets into Xcode (7.1 or newer version). In the opened window choose AppIcon and add a proper image for each iOS version and device. Close Xcode and rebuild your NativeScript app to use the new AppIcons.
Customizing launch images
- Manual approach
Open LaunchImage.launchimage and change the default launch images with your own using the proper resolution for each image (e.g., [email protected] should be 640px x 1136px). If your images have different file names then open Contents.json and change the key filename for each image.
| Device | Image Resolution | Image name |
|---|---|---|
| iPhone 1g-3Gs | 320x480 | Default.png |
| iPhone 4, 4s | 640x960 | [email protected] |
| iPhone 5, 5c, 5s | 640x1136 | [email protected] |
| iPhone 6s - 8 | 750x1334 | [email protected] |
| iPhone 6s Plus - 8 Plus | 1242x2208 | [email protected] |
| iPhone X | 1125px × 2436px | Default-1125h.png |
| iPhone X Landscape | 2436px × 1125px | Default-Landscape-X.png |
| iPad, iPad 2, Mini | 768x1024 | Default-Portrait.png |
| iPad Landscape | 1024x768 | Default-Landscape.png |
| iPad Retina | 1536x2048 | [email protected] |
| 12.9" iPad Pro | 2048x1536 | [email protected] |
Note
For a better understanding of the supported image resolutions for the different iOS devices, refer to iOS Human Interface Guidelines or check our reference table.
- Xcode WYSIWYG approach
Drag and drop your Assets.xcassets into Xcode (7.1 or newer version). In the opened window add the proper image for each iOS version and device. Close Xcode and rebuild your NativeScript app to use the new launch images.
Important
Make sure you have provided all required images or your app will be rejected from publishing in the App Store.
Customizing LaunchScreen.storyboard
The default template app in NativeScript comes with LaunchScreen.storyboard, which contains two image views. The first one, named LaunchScreen.AspectFill.imageset, is used to visualize your background. The second one, named LaunchScreen.Center.imageset, is used to visualize your centered logo. Your own storyboard can be customized to use your own logic with different images and styles. However, keep in mind that according to iOS Human Interface Guidelines, the LaunchScreen should be as light as possible with minimal or no moving elements and text labels. It is meant to provide immediate UX rather than artistic presentation.
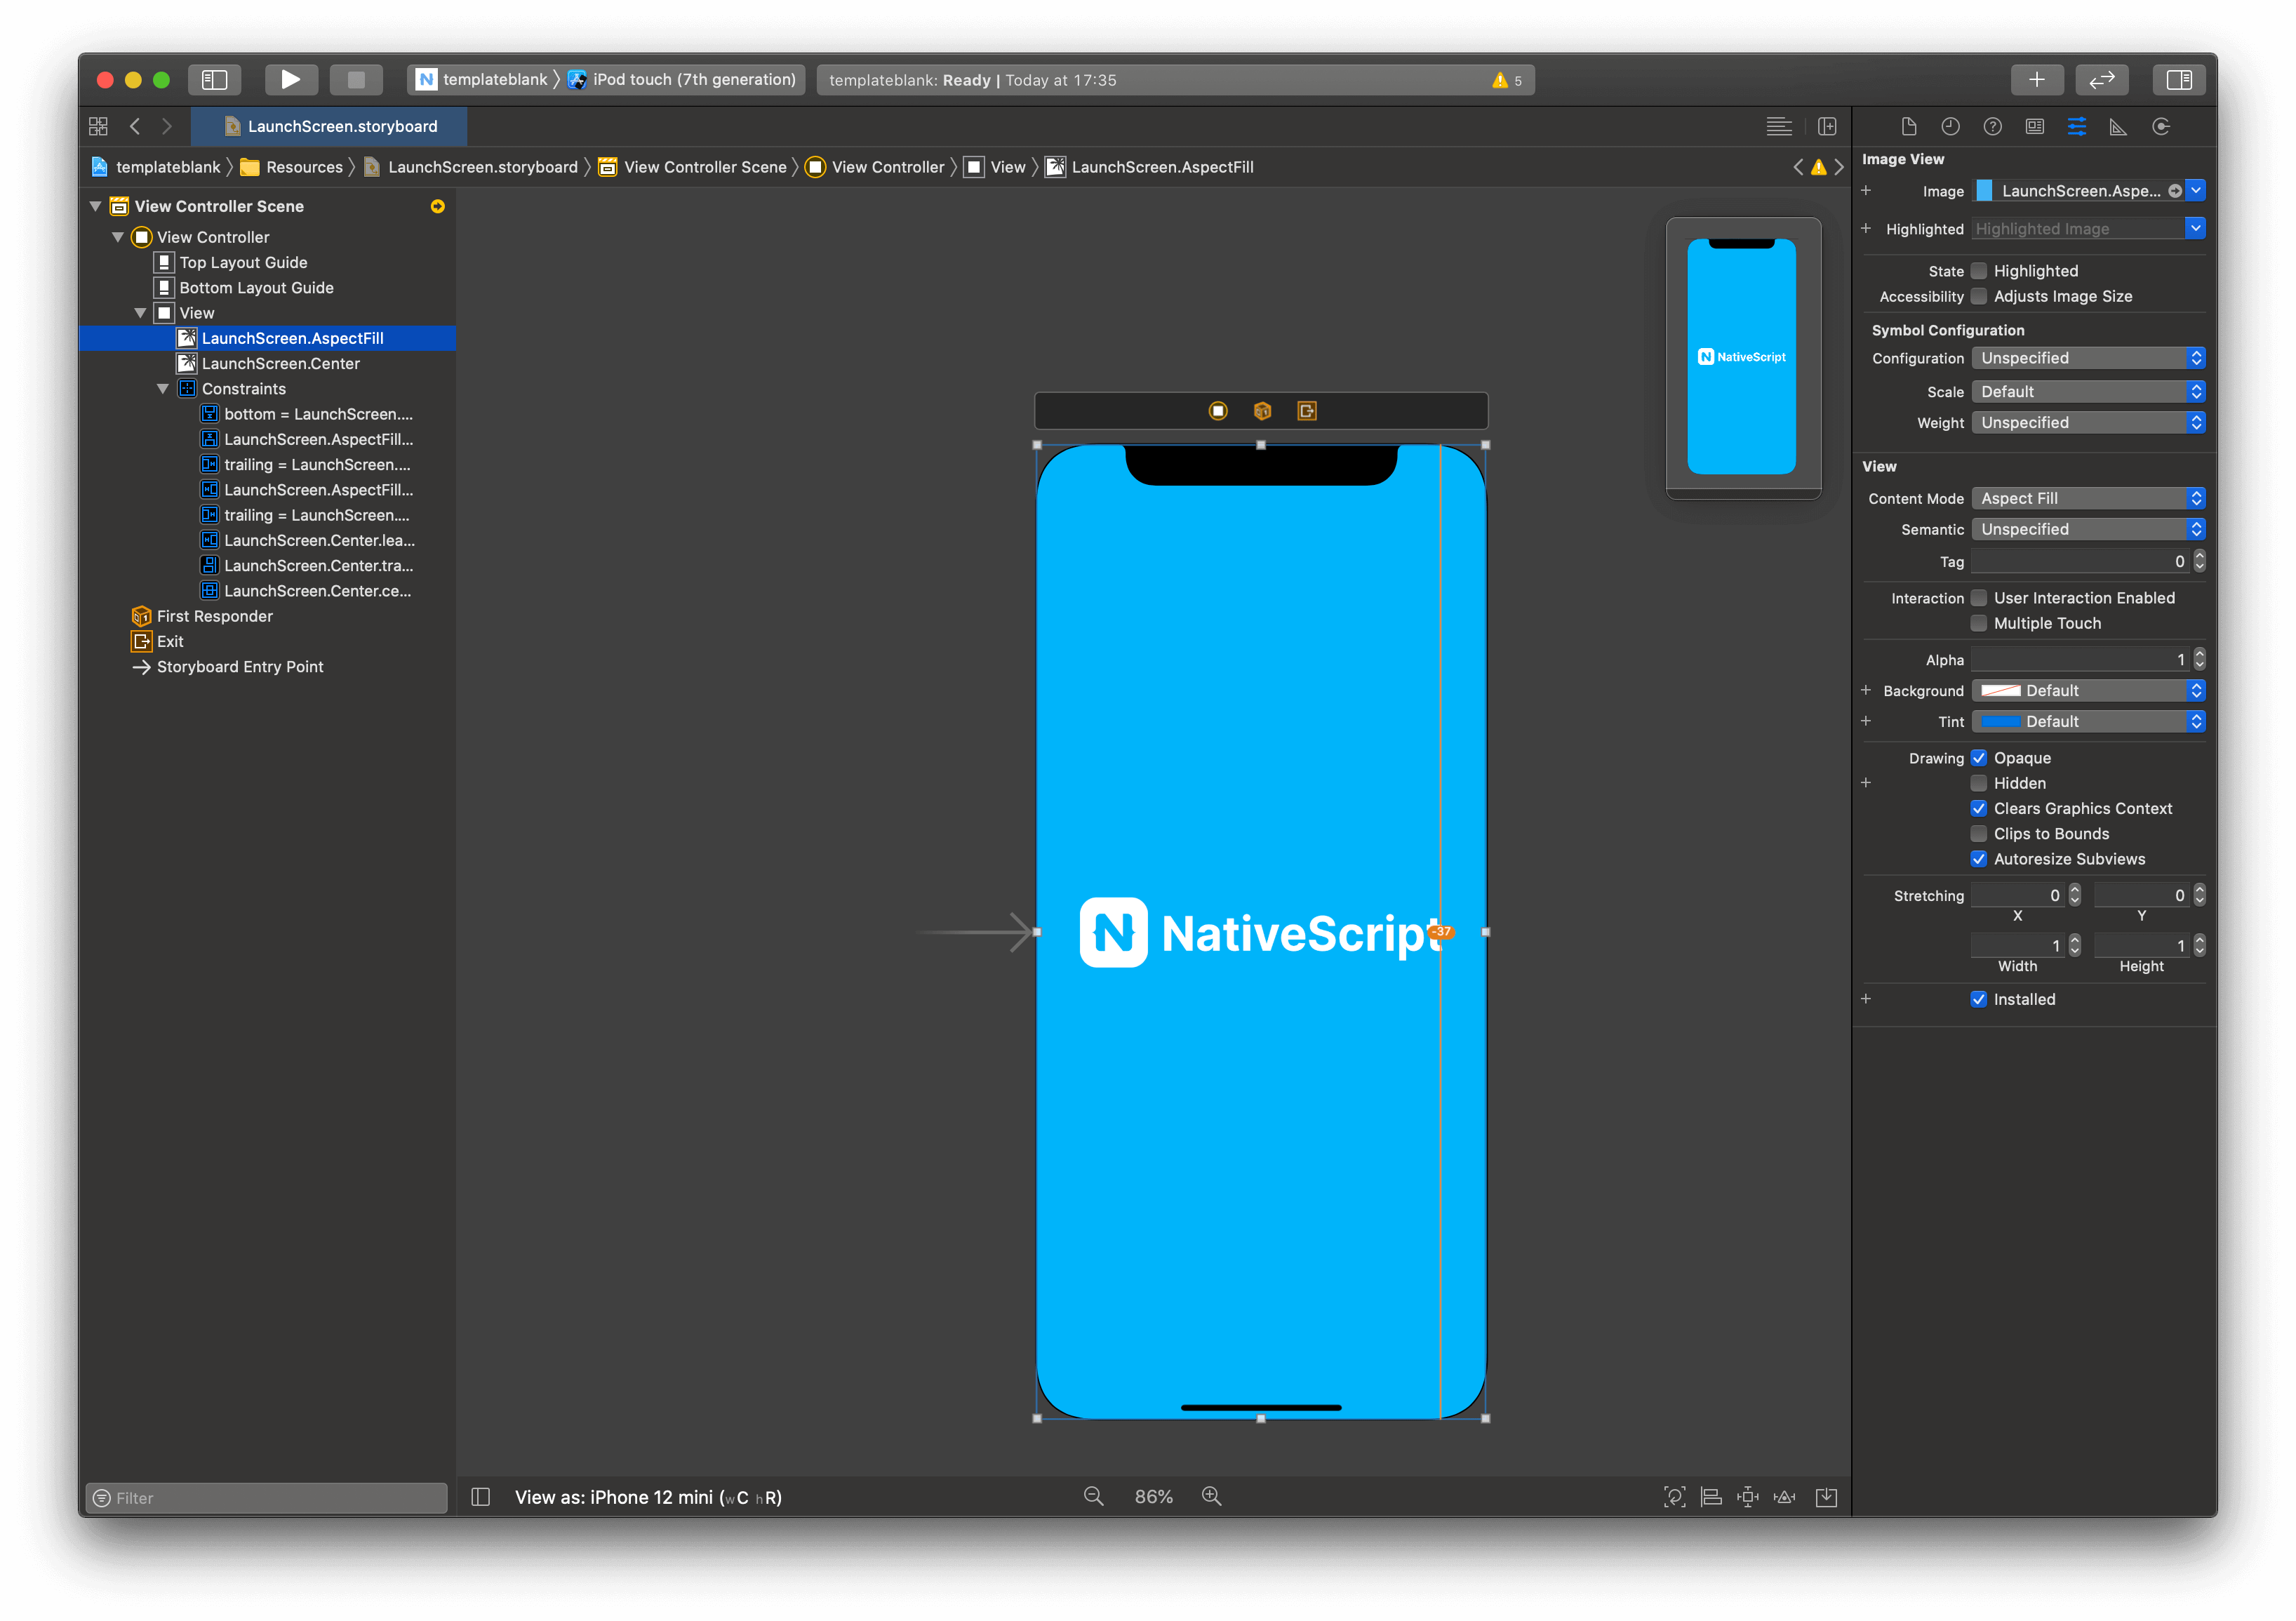
Customizing LaunchScreen.AspectFill
- Manual approach
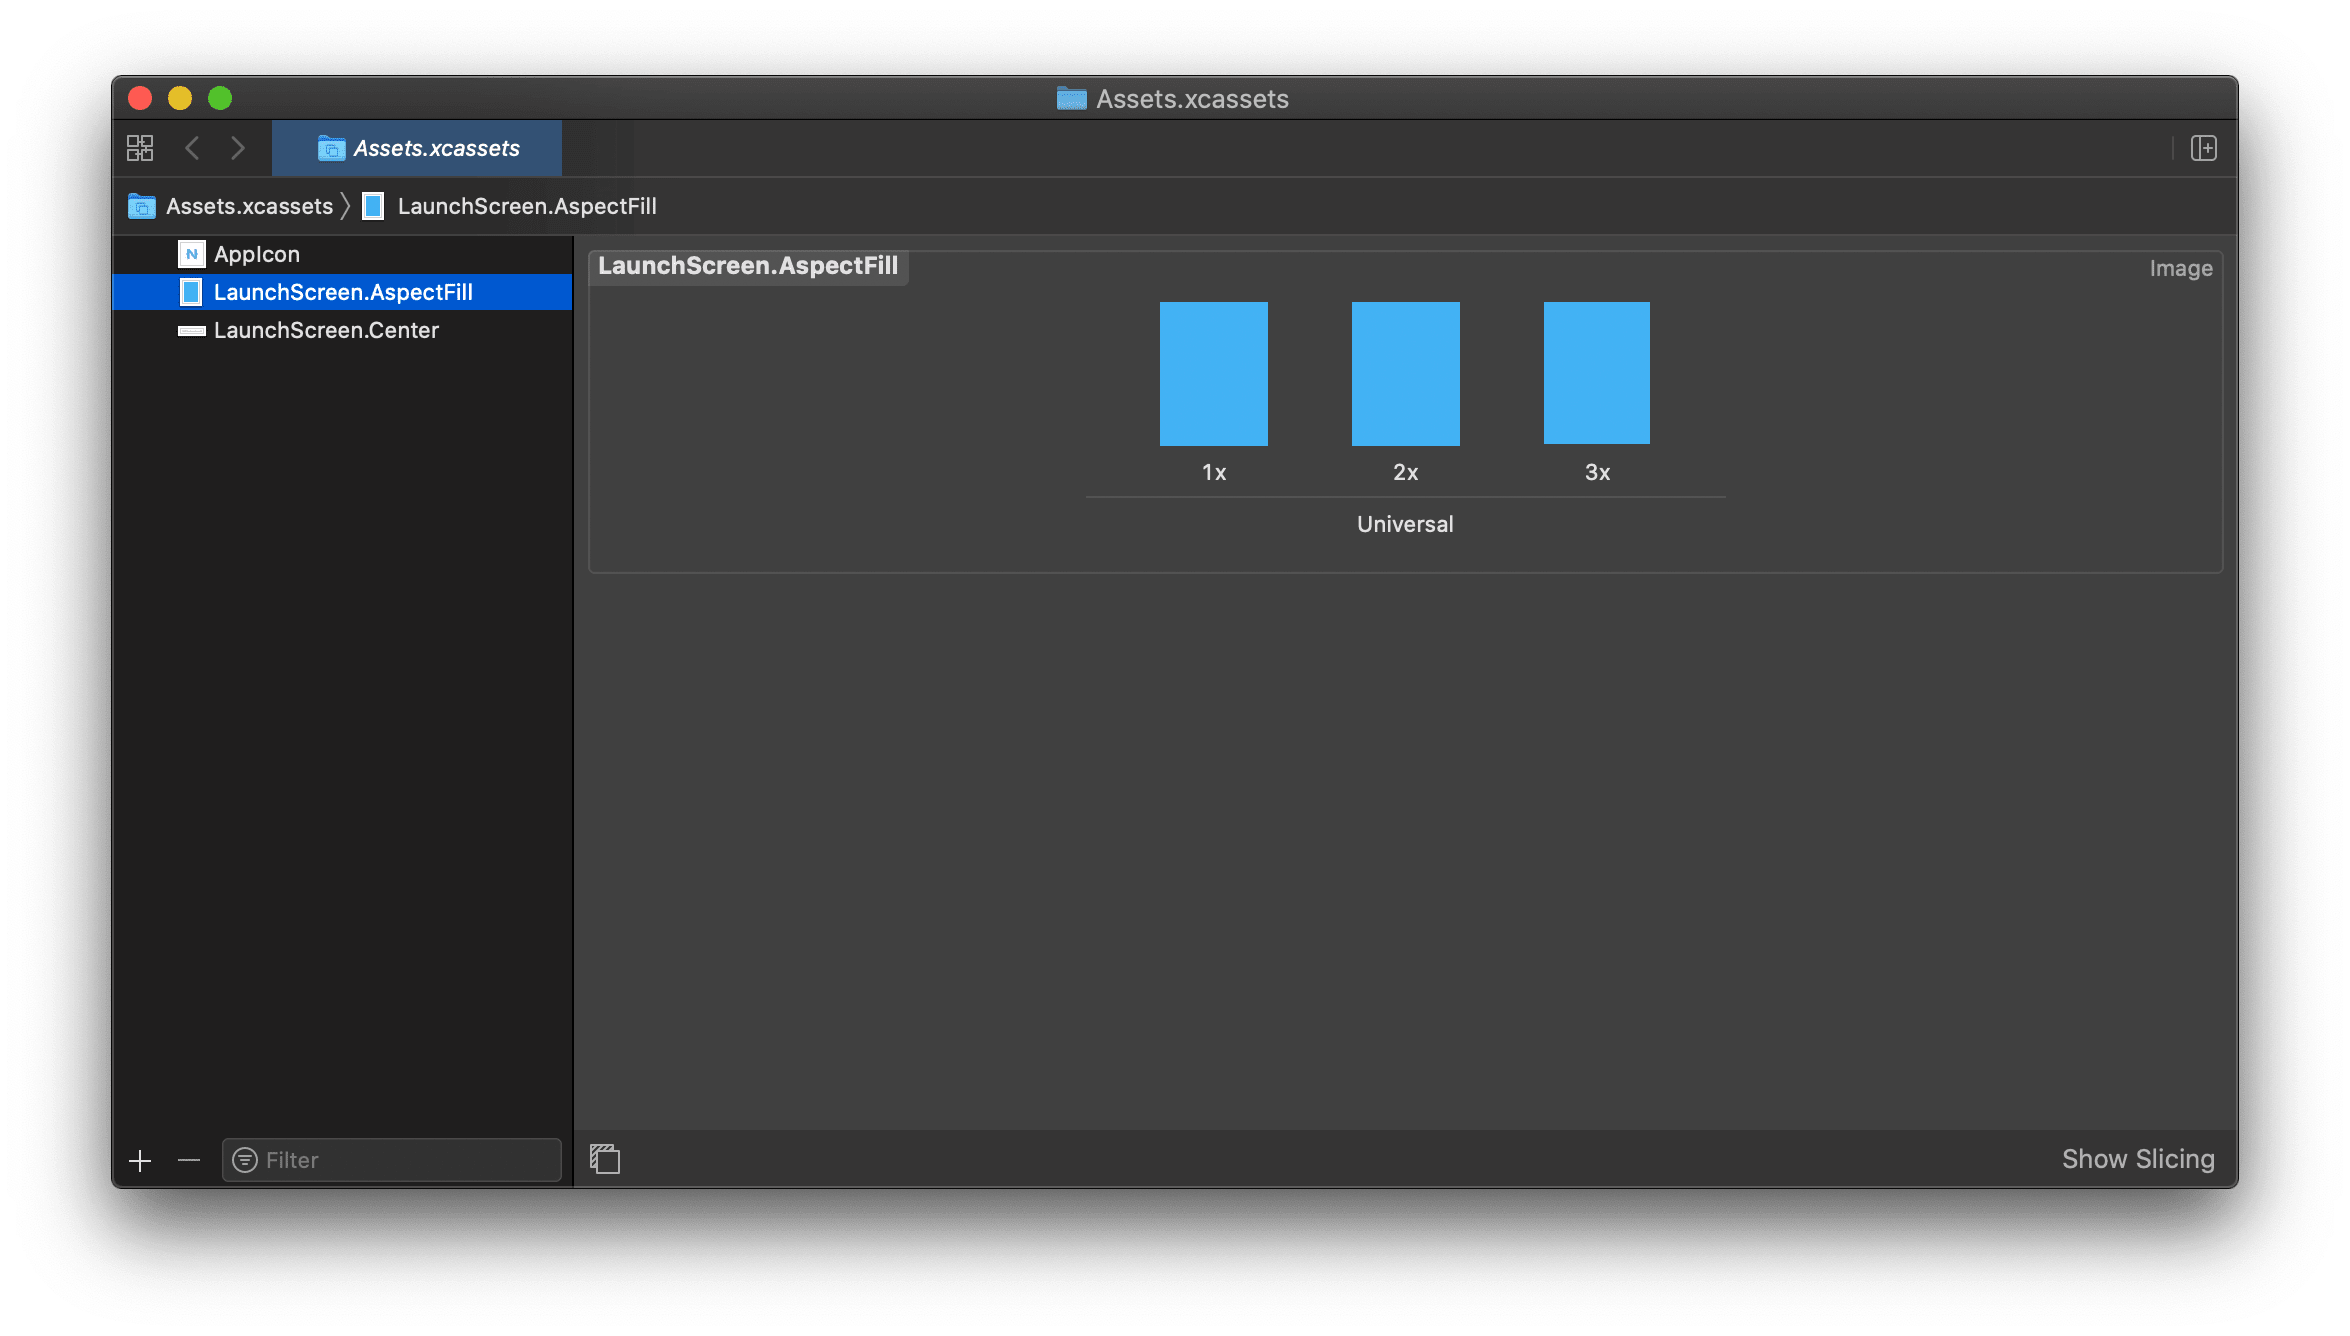
Open LaunchScreen.AspectFill.imageset and change the default LaunchScreen.AspectFill images with your own using the proper scale for each image (1x, 2x and 3x). As this is an image that will be used in your LaunchScreen.storyboard, your actual resolution may vary depending on your design. The default NativeScript template ships a LaunchScreen-AspectFill.png and [email protected] used as a sample background. If your images have different file names then open Contents.json and change the key filename for each image.
Important
After each file change in the Assets.xcassets folder you should rebuild your project and restart your emulator to avoid visualizing cached images.
- Xcode WYSIWYG approach
Drag and drop your Assets.xcassets into Xcode (7.1 or newer version). In the opened window choose LaunchScreen.AspectFill and add the properly scaled image for each entry (1x, 2x and 3x). Close Xcode and rebuild your NativeScript app to use the new LaunchScreen.AspectFill.
Customizing LaunchScreen.Center
- Manual approach
Open LaunchScreen.Center.imageset and change the default LaunchScreen.Center images with your own using the proper scale for each image (1x, 2x and 3x). As this is an image that will be used in your LaunchScreen.storyboard, your actual resolution may vary depending on your design. The default NativeScript template ships a LaunchScreen-Center.png and [email protected] used as a sample center logo image. If your images have different file names then open Contents.json and change the key filename for each image.
Important
After each file change in the Assets.xcassets folder you should rebuild your project and restart your emulator to avoid visualizing cached images.
- Xcode WYSIWYG approach
Drag and drop your Assets.xcassets into Xcode (7.1 or newer version). In the opened window choose LaunchScreen.Center and add the properly scaled image for each entry (1x, 2x and 3x). Close Xcode and rebuild your NativeScript app to use the new LaunchScreen.Center.
Certificates, identifiers & profiles
Certificates, identifiers and profiles are managed at https://developer.apple.com/membercenter.
You should really explore the information Apple provides on certificates and identities. This article will cover only the basics.
Account with Apple ID
You will need a developer account with an Apple ID so you can access the Apple Developer Member Center.
You will need to be added as an iOS developer in your organization.
Development certificates
Development certificates are used to sign iOS apps proving the origin of the app. If you plan to use the Xcode tooling it would be best to create a development certificate.
A few pitfalls are:
- A developer is allowed to have one certificate at any time. You must 'revoke' an existing certificate before you can create a new one.
- Certificates consist of public and private keys. The private key is never sent to Apple, so you cannot 'download' your certificate from the Member Center. If you lose the private key of your certificate, you have to revoke it and create a new one.
- When revoked or expired, the certificates may further invalidate provisioning profiles. Once the certificate is recreated, the provisioning profiles need to be updated as well.
- Making a certificate requires a Mac. You use the Keychain Access tool to create a certificate request, generating a public and private keys at your side, then send the public key to Apple while storing the private key in your keychain.
- If you follow the steps at the Member Center to create a new development certificate, the certificate must be stored in your keychain. You can consider exporting it and backing it up.
Note
Go to https://developer.apple.com/account/ios/certificate/certificateList.action?type=development click the '+' (add) button and follow the instructions for making a new 'iOS App Development' certificate.
Production certificates
Production certificates work similarly to development certificates. They consist of public and private keys. The private key stays at your side and is never sent to Apple. Your app is signed with the distribution certificate using your private key, so Apple can verify the origin of submissions in iTunes Connect using the public key you sent them.
This production certificates is used to sign the application binary when it is prepared for submission. Usually when an app is built for a device, its IPA file is signed with the development certificate.
Note
You can read more about IPA (file extension) here Later, the tooling resigns the IPA with the production certificate and appends the distribution provisioning profile when submitting to iTunes Connect.
A few pitfalls are:
- Creating production certificates are more restricted than creating development certificates. Apple limit the number of production certificates per team.
- Because production certificates are limited in quantity per team, and frequently shared between multiple team members, you must be extremely careful when you revoke an existing distribution certificate. If you ultimately lost your private key of a distribution certificate and revoke it, consult with anyone that may have backed it up or is in need of the new certificate. Hopefully this will avoid your new copy being revoked in the future or losing your admin rights.
- Production certificates can be shared between team members. If you follow the steps at the Member Center to create a new one (link below) the certificate will be stored in your keychain. You can export it as a .p12 file, easily backing it up and sharing it with senior team peers.
If you need a new distribution certificate, go to https://developer.apple.com/account/ios/certificate/certificateList.action?type=distribution click the '+' (add) button and follow the instructions for making a new 'App Store Distribution' certificate. Chances are you are part of a larger organization and your role does not have sufficient rights to create a new distribution certificate. Admins or other team member may provide you the certificates in that case. In such cases, you will probably be given a .p12 file and a password. You should import the file in your keychain using the Keychain Access application.
Identifiers - App IDs
To test your app on a device or submit in the App Store, you will need to create an App ID. App IDs consist of a Prefix or a Team ID that is generated by Apple, followed by an ID provided by you that must match your Bundle ID. For example, you can create an App ID with the org.nativescript.* ID that will match all your NativeScript apps. The wildcard pattern imposes some restrictions on the services you can use, so you may also consider using a non-wildcard pattern such as org.nativescript.<my-app>.
These identifiers are later used to bind apps with provisioning profiles.
Devices
At the Member Center you can register the devices you and your team use for testing. Go to https://developer.apple.com/account/ios/device/deviceList.action.
To register a phone you will need its UDID. Connect it to the Mac and run in a terminal:
instruments -s devicesIt will output all known devices and their UDIDs.
Development provisioning profiles
Development provisioning profiles bind together one or multiple developer signing identities (developer certificates), App ID and device IDs. These are created at https://developer.apple.com/account/ios/profile/profileList.action?type=limited. If you are making a new one, or adding a new app to an existing one, make sure to select these three:
- Your development certificate
- App ID identifier, that matches your App ID
- The device you will test on
Unlike the certificates, provisioning profiles are files that can be easily updated and downloaded from the Member Center (in .mobileprovision files) and installed in Xcode by double-clicking that file.
Xcode is also capable of obtaining these automatically. Open Xcode and from the menu go to Xcode > Preferences... > Accounts > (select your apple ID) > (double-click on your Team Name). There you can check all signing identities (developer and production certificates) available to Xcode as well as Download All provisioning profiles.
When you run an app on a device, Xcode will sign the app with your development certificate and add a provisioning profile that has your certificate, device ID and App ID.
While the development provisioning profiles are easily created and updated, they frequently invalidate, especially when multiple developer certificates are involved. Every time one of them is revoked or expires, you need to update the provisioning certificate.
These are not of a particular interest for App Store submissions but you may need one to test on a real device.
Distribution provisioning profiles
There are several distribution provisioning profile types. The one you will need for App Store submission is 'App Store Distribution Provisioning Profile'. These are similar to the development provisioning profiles because they bind:
- Your distribution certificate
- Your device-es
- An App ID
- Various settings, enabled services, etc.
Distribution provisioning profiles are created at https://developer.apple.com/account/ios/profile/profileList.action?type=production.
For App Store submissions, you must create an App Store Distribution Provisioning Profile. Once you create it, download it and double-click it on your Mac so it gets registered with Xcode.
Distribution provisioning profiles invalidate rarely since they refer a single Distribution Certificate.
App Store Connect
While you manage your provisioning profiles and certificates at the Apple Developer Member Center, apps are registered and submitted at App Store Connect (former iTunes Connect). This is where you will be able to create new apps, prepare app screens, descriptions, manage app versions, etc.
Account
You will need your Apple ID added to your organization with sufficient rights at https://appstoreconnect.apple.com.
Creating an app
To publish your app in the iOS App Store you will have to register your app. Log into https://appstoreconnect.apple.com and go to 'My Apps'. There you can check the status and edit existing apps or create a new app.
Click the '+' button at the top left corner. The 'New App' dialog should appear. There you have to fill the public App Store name of your app and primary language.
Also, you have to set Bundle ID, which must match the Bundle ID referred in '1.1. Bundle ID'. If the drop-down does not contain a suitable match, you are probably missing an App ID referred at '2.4. Identifiers - App IDs'. If there is a wildcard App ID, that is a potential match so select it. You will be able to type the suffix, replacing the wildcard in a text box.
At that point you have to fill in the App Information. There are various assets that you must provide such as screenshots, icons, description, etc. Failing to provide all necessary assets may prevent you from submitting your app, or result in app rejection.
Note
Screenshots not matching the actual app may result in rejection of a new version sent for approval.
Builds
Once you have your app information registered at https://appstoreconnect.apple.com it is time to build your NativeScript app for iOS and submit it to iTunes Connect — using Xcode.
Build versioning
We have already explained how the Bundle ID is set in your project, how the launch screen (or storyboard) and images are added to your app, and how you can set the display name.
Before the build, you need to set two important things: the Bundle Short Version String and the Bundle Version String.
Bundle Short Version String is the public version of your app. It is incremented between releases. For example: 2.1. Bundle Version String is the internal build number. One public release usually has multiple release candidates. For example 2.1.1, 2.1.2, etc.
iTunes Connect has a restriction that a bundle cannot be uploaded with the same version twice, so you must increment the Bundle Version String with each upload.
The Bundle Short Version String should be incremented once your app version is uploaded, sent for approval, approved and published.
Both values are stored in app/App_Resources/iOS/Info.plist:
- The
CFBundleShortVersionStringkey stores the Bundle Short Version String. - The
CFBundleVersionkey stores the Bundle Version String.
In the app/App_Resources/iOS/Info.plist they appear as:
<key>CFBundleShortVersionString</key>
<string>2.1</string>
<key>CFBundleVersion</key>
<string>2.1.2</string>
If you need to edit these from the command line, there is a handy tool called PlistBuddy that can read and write Plist files. For example, the following shell script appends the Jenkins $BUILD_NUMBER to the CFBundleVersion in the Info.plist:
### Set CFBundleVersion ###
export CFBundleVersion=`/usr/libexec/PlistBuddy app/App_Resources/iOS/Info.plist -c "Print :CFBundleVersion"`
/usr/libexec/PlistBuddy app/App_Resources/iOS/Info.plist -c "Set :CFBundleVersion $CFBundleVersion.$BUILD_NUMBER"
Submit via CLI
You can also use ns publish ios to submit from the CLI, see this guide.
Submit from Xcode
You can execute the following command using the CLI:
ns prepare iosThis will create an Xcode project in platforms/ios/. Then you may consider the following Apple article about how to configure the project for distribution.
The platform folder is not meant to stay in source control and you should be careful when you do modifications there. Rebuilds may erase your changes and you should add changed files to source control.
A common pitfall, if you are using CocoaPods, is to open the Xcode project instead of the workspace, so be sure to open the workspace.
Once you have it open in Xcode, you have to go to your target's Signing & Capabilities and pick a team. In Build Settings there should be a suitable 'iOS Developer' and 'Code Signing Identity'.
From the top drop-down, select your target, and from the devices and emulators, pick 'Generic iOS Device'.
Then you should be able to select from the top menu Product > Archive.
This makes an xcodearchive and opens it in the Xcode Organizer. The Xcode Organizer displays a list with builds of your app. Pick the last build and click Upload to App Store.... You should select a team again and whether to include app symbols for your app. Next, you can see a list with the binary information, entitlements, etc. Click Upload.
If you upload successfully, you should be able to log in at https://appstoreconnect.apple.com and see your build in 'Activities'. From there you can enable Test Flight beta testing or send it for approval.
Send for approval and publish
Once you successfully submit a build at App Store Connect, you can enable testing through Test Flight. When you are ready, go to the 'Build' section of your iOS app, pick the build, and click 'Submit for Review' for that version. The app will pass through several App Statuses. If your app passes Apple review, it can go live at the App Store.
- Previous
- Publishing
- Creating iOS NativeScript app
- App name
- App icons
- Launch files
- Certificates, identifiers & profiles
- Account with Apple ID
- Development certificates
- Production certificates
- Identifiers - App IDs
- Devices
- Development provisioning profiles
- Distribution provisioning profiles
- App Store Connect
Contributors

