Getting Started
Setting up macOS for NativeScript
Setting up macOS for Android
You will need Node, NativeScript CLI (command line interface), Android Studio and a JDK (java development kit).
Android Studio is not strictly necessary — however it provides an easy-to-use interface for installing and managing the Android SDKs.
We recommend using Homebrew to install the required dependencies — a popular package manager for macOS.
WARNING
When installing Homebrew, carefully follow their instructions to avoid configuration issues.
Complete the Homebrew installation process before proceeding further.
Setting up the Android development environment can be daunting if you are new to Android development, however following the next steps carefully will get you up and running in no time.
Installing Node
To install Node we recommend using a node version manager, such as nvm, n or any other node version manager you prefer. In these docs we will be using nvm, but feel free to use a different node version manager.
- Follow the install instructions in the nvm repository.
- Once the installation is complete, open a new Terminal and verify you can run
nvm ls. - Install the latest Node release with:bash
nvm install node - Verify the installation was successful and runbash
node -v
npm -v
Installing a JDK
To install a JDK (using the prebuilt OpenJDK binaries from Adoptium) run the following command:
brew install --cask temurin@21Note
Using JDK 21 is highly recommended as the nativescript-bundled version of gradle is compatible. Using a newer version of the JDK may cause issues with your android build process.
Once installed, open a new Terminal and verify that the default version is the one we installed:
javac --version
# should print something like:
# javac 21.x.x
If the version looks correct, you are ready to move on to Installing Android Studio, otherwise you will need to set the JAVA_HOME environment variable.
Add the following lines to your shell profile, usually ~/.zshrc, ~/.bash_profile or ~/.bashrc or ~/.zprofile:
export JAVA_HOME=$(/usr/libexec/java_home -v"21");Repeat the verification from above.
Installing Android Studio
Download and install Android Studio. In the installation wizard, make sure you have the following components selected (the list should appear if you select custom options):
- Android SDK
- Android SDK Platform
- Android Virtual Device
- Performance (Intel ® HAXM) — optional, learn more about AMD Processor & Hyper-V support
The setup may take a while, but once it has finished a welcome screen should appear.
Android Studio installs the latest Android SDK by default, which in most cases should be all that's needed to build a NativeScript app.
Configuring ANDROID_HOME and PATH
Configure the ANDROID_HOME environment variable for NativeScript to be able to find the Android SDK, and add the required tools to path.
Add the following lines to your shell profile, usually ~/.zshrc, ~/.bash_profile or ~/.bashrc or ~/.zprofile:
export ANDROID_HOME=$HOME/Library/Android/sdk
export PATH=$PATH:$ANDROID_HOME/platform-tools
Installing the NativeScript CLI
Install the NativeScript CLI globally:
npm install -g nativescriptYou may see Deprecation and security warnings from npm, these are safe to ignore. Read more...
The NativeScript CLI relies on 3rd party packages that may have been deprecated over the past years. We are slowly replacing these dependencies with newer, supported alternatives to resolve these warnings, however they are generally safe to ignore, since the CLI is never exposed to the public and it's only used for local development, where most of the security concerns don't apply.
Verifying the environment
To verify that the installation was successful, open a new Command Prompt window (to ensure the new environment variables are loaded) and run:
ns doctor androidIf you see No issues were detected then you have successfully set up your system.
Troubleshooting
If any of the above failed, we recommend asking in our Community Discord for assistance.
Setting up macOS for iOS
You will need Node, NativeScript CLI (command line interface), XCode, xcodeproj, cocoapods.
We recommend using Homebrew to install the required dependencies — a popular package manager for macOS.
Note
When installing Homebrew, carefully follow their instructions to avoid configuration issues.
Installing Node
To install Node we recommend using a node version manager, such as nvm, n or any other node version manager you prefer. In these docs we will be using nvm, but feel free to use a different node version manager.
- Follow the install instructions in the nvm repository.
- Once the installation is complete, open a new Terminal and verify you can run
nvm ls. - Install the latest Node release with:bash
nvm install node - Verify the installation was successful and runbash
node -v
npm -v
Installing XCode
Next you will need XCode. XCode will install on macOS 10.15.7 Catalina or later. It will need about 50G Disk space for installation. Open the AppStore, search for XCode and and install it.
Once the installation is complete (this may take a while — brew a coffee and enjoy a little break), open XCode and if it prompts you to install the Command-Line-Tools make sure to say Yes.
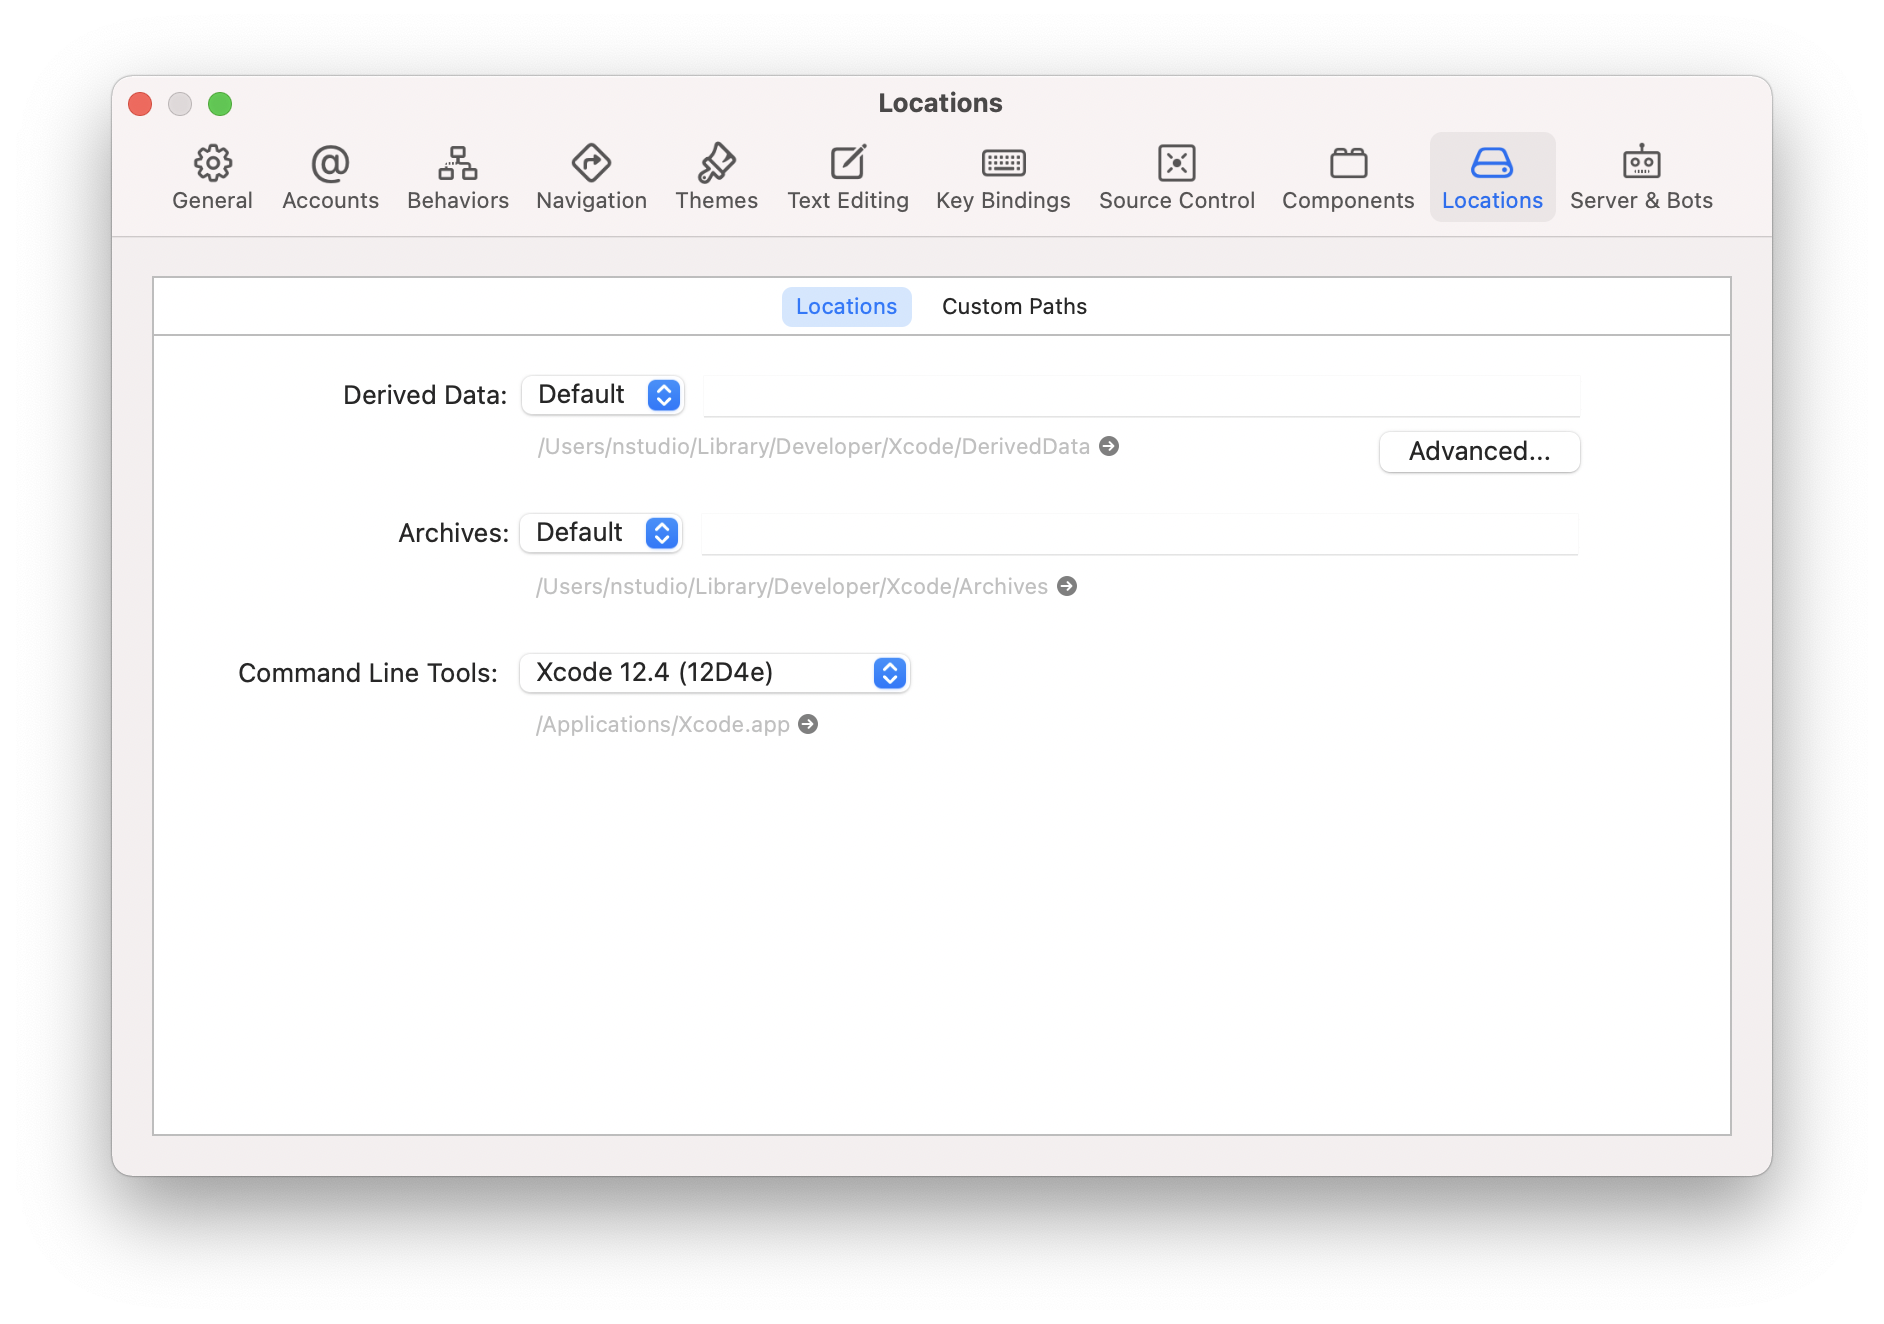
Open XCode › Preferences › Locations and make sure Command Line Tools is set
Note
In newer versions of XCode, 'Preferences' may be 'Settings'
Installing Ruby
Install ruby 3.3+ and link it so it's available in your shell environment:
brew install [email protected]
brew link [email protected]
You can now run brew list ruby to see which specific version was installed to reference next.
Add the following lines to your shell profile, usually ~/.zshrc, ~/.bash_profile or ~/.bashrc or ~/.zprofile:
# Add ruby and rubygems to the path
export PATH=/opt/homebrew/opt/ruby/bin:/opt/homebrew/lib/ruby/gems/3.3.0/bin:$PATH
# or
export PATH=/opt/homebrew/opt/[email protected]/bin:/opt/homebrew/lib/ruby/gems/3.3.0/bin:$PATH
# or
export PATH=/usr/local/lib/ruby/bin:/usr/local/lib/ruby/gems/3.3.0/bin:$PATH
Tip
You can always ls -al /opt/homebrew/opt to see how it's listed on your own system. Or ls -al /usr/local/lib depending on your setup.
Important
Make sure to open a new terminal window for the changes to take effect!
Installing cocoapods and xcodeproj
In a new terminal window, install the cocoapods and xcodeproj gems by running the following commands:
gem install cocoapods
gem install xcodeproj
Depending on installation methods, the location of ruby gems may vary. Make sure you have the right folder in your $PATH by running which pod. If the binary is not found run gem env to examine your folders, and update your $PATH in the login profile file.
Installing Python and six
Install python3 from Homebrew:
brew install python

# verify installation
python3 --version
Next, update pip and install six by running the following:
python3 -m pip install --upgrade pip
python3 -m pip install six
Installing the NativeScript CLI
Install the NativeScript CLI globally:
npm install -g nativescriptYou may see Deprecation and security warnings from npm, these are safe to ignore. Read more...
The NativeScript CLI relies on 3rd party packages that may have been deprecated over the past years. We are slowly replacing these dependencies with newer, supported alternatives to resolve these warnings, however they are generally safe to ignore, since the CLI is never exposed to the public and it's only used for local development, where most of the security concerns don't apply.
Verifying the environment
To verify that the installation was successful, open a new Terminal window (to ensure the new environment variables are loaded) and run:
ns doctor iosIf you see No issues were detected then you have successfully set up your system.
Troubleshooting
Did you see this warning?
✖ WARNING: Xcode is not installed or is not configured properly.
 You will not be able to build your projects for iOS or run them in the iOS Simulator.
To be able to build for iOS and run apps in the native emulator, verify that you have installed Xcode.

Your environment is not configured properly and you will not be able to execute local builds.
Verify that your environment is configured according to the system requirements described at
https://docs.nativescript.org/setup/macos#setting-up-macos-for-ios.
If so, you can likely just run: sudo xcode-select --reset
Now try ns doctor ios again.
If any others failed, we recommend asking in our Community Discord for assistance.
- Next
- Creating a Project

